So a question that gets asked a lot around here is: “How do I make a map for my dungeon idea?”
Well you’ve got a couple choices, you can
- build the whole thing from scratch using Gimp or Photoshop or something else
- settle for just making low-quality minimaps made on the draw tool
- give up and just let people use their imagination
None of those sound very pleasant, do they? Well I have a better option! There’s this great program you can download called Tiled, it’s a map editor that can make pretty much whatever you want it to. You may have seen some stuff I’ve done with it before: the maps to my Clock Tower and Stone Caves of Nores, as well as Puffagod’s Beyond and Atrapper’s Obsidian summit were all made using this software!
But it might look a bit confusing at first, it’s super simple once you know which buttons are actually important but first you must find them. That’s what I’m here to do for you, this is a simple guide to using Tiled effectively to create some high-quality maps of your very own.
#1) Get Tiled
You can’t use software you don’t have! Tiled can be downloaded at http://www.mapeditor.org for free, although you can additionally choose to support further development if you wish. Don’t worry, I won’t think any less of you if you don’t, because I haven’t either 
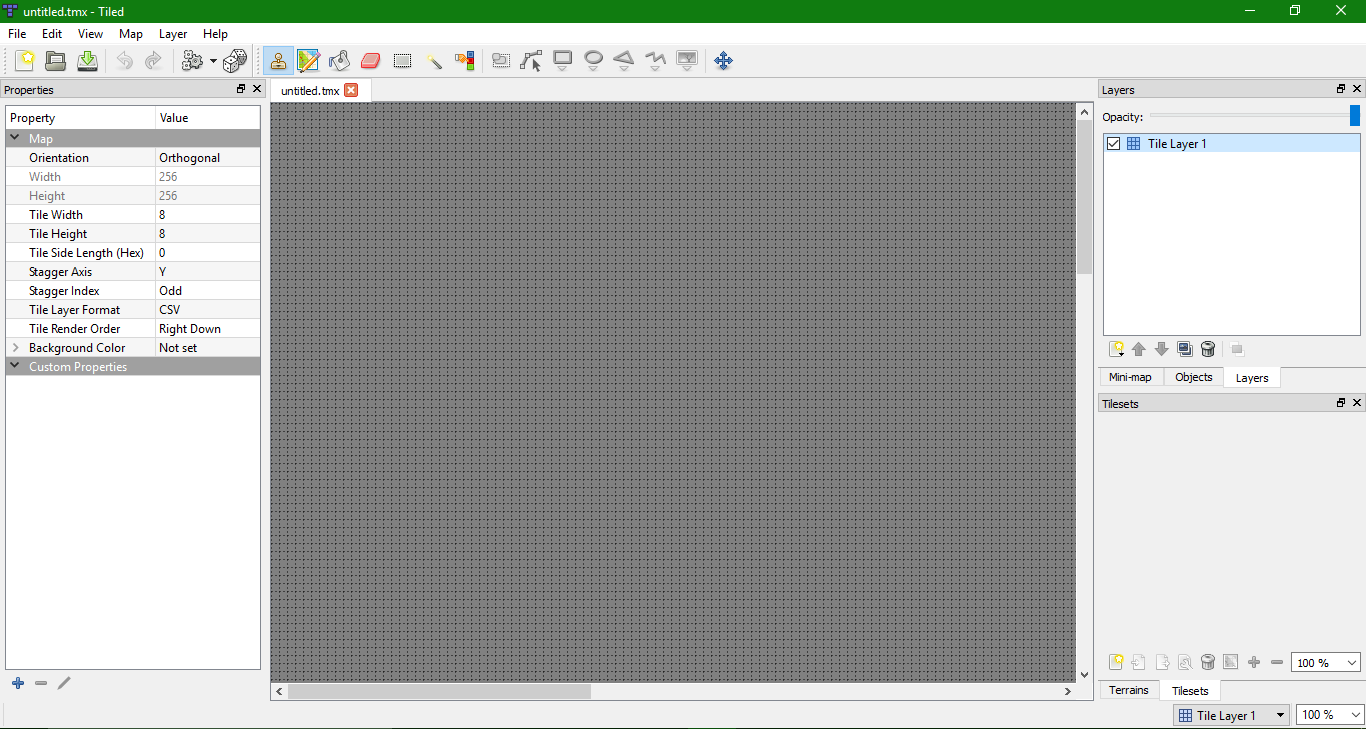
#2) Make a new map
Once you get Tiled and open it up, it looks something like this:

there’s a lot of stuff there, but none of it does anything yet because you don’t have a map! First, you must go to File, in the top left corner right under where it says “Tiled”. the very first option should be “New…” Once you click that it opens up a small dialogue with some options:

to be totally honest, I have no clue what “Tile layer format” does, and I don’t see what difference “Tile render order” makes either, so we’ll just leave those alone. Map size and Tile size on the other hand are very important. you want the tiles to be 8 pixels big, and dungeon maps cannot be any larger than 256x256 anyway, so set it to that to begin with. You can make it smaller later if you need to, but you can’t go bigger than that in RotMG. Also you can do some fancy things with the Orientation as well, but knowing that isn’t necessary so we’re going to leave that alone for now.
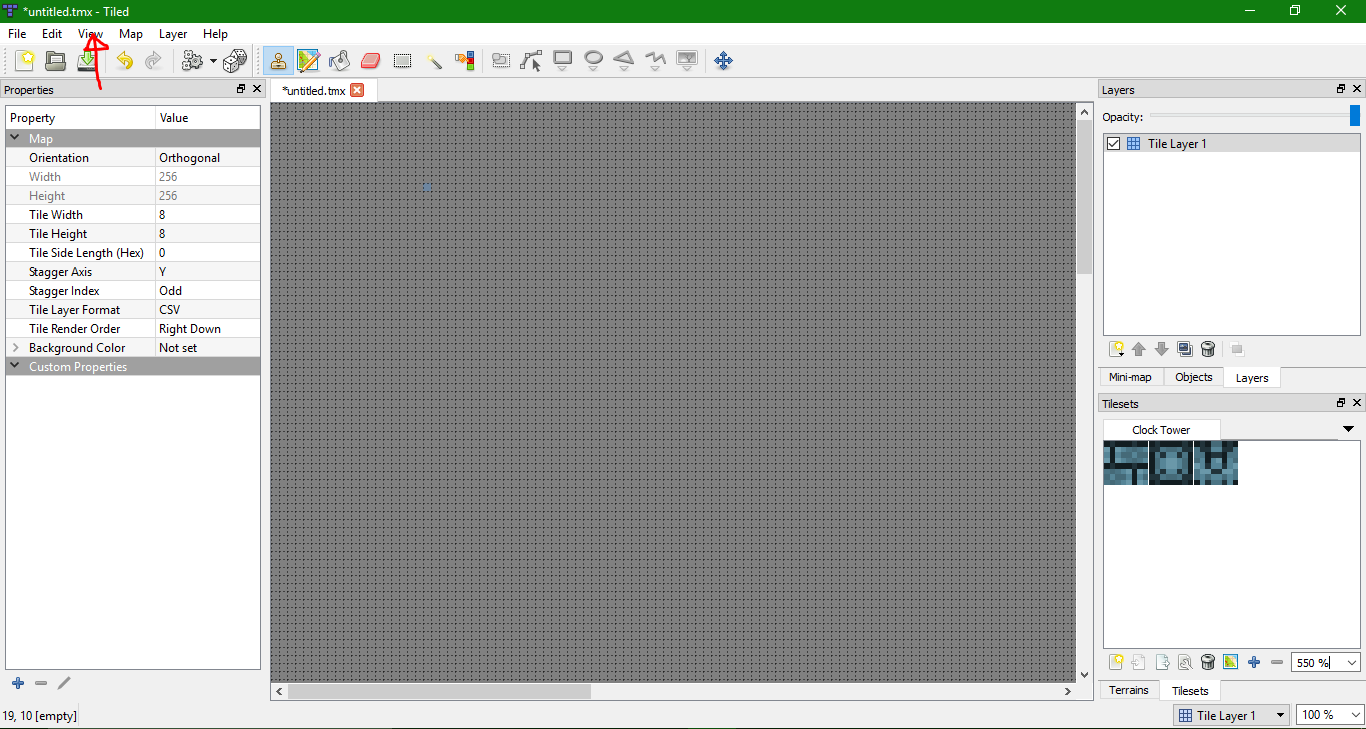
Click “OK”, and then it changes to something like this:
#3) Make a new tileset
so now you can draw tiles into place, but you have no tiles for drawing yet! over here in the corner is where you can edit and add new tilesets:
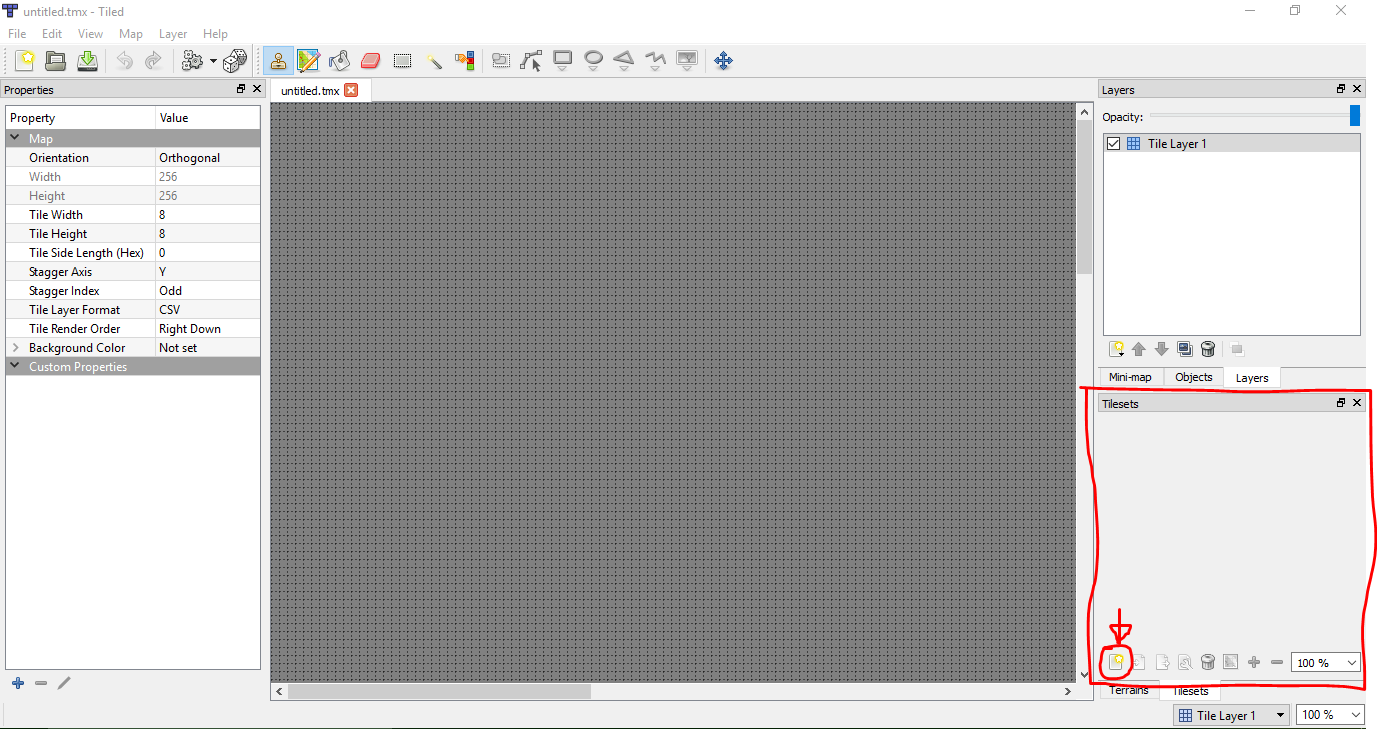
since you don’t have any tilesets yet, the buttons are all grayed out except for the one the arrow is pointing to. this one creates a new tileset for you to use. it opens up another dialogue:

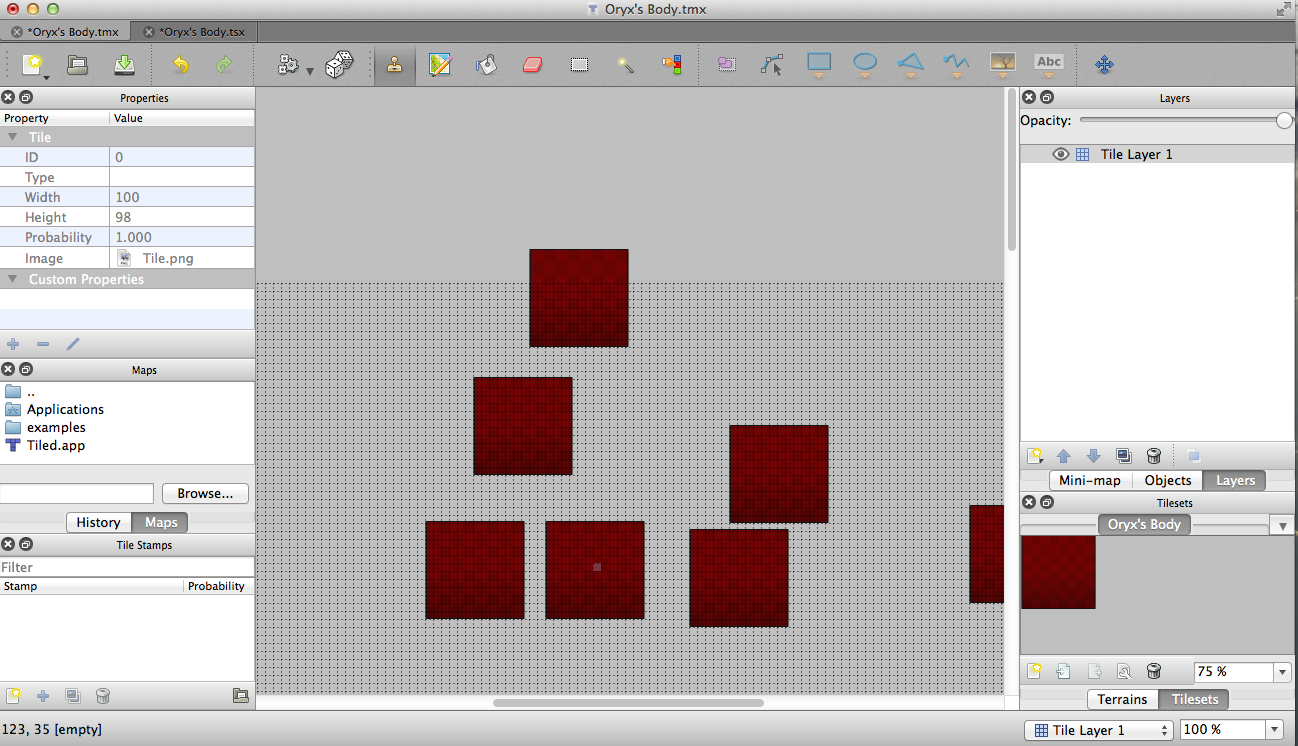
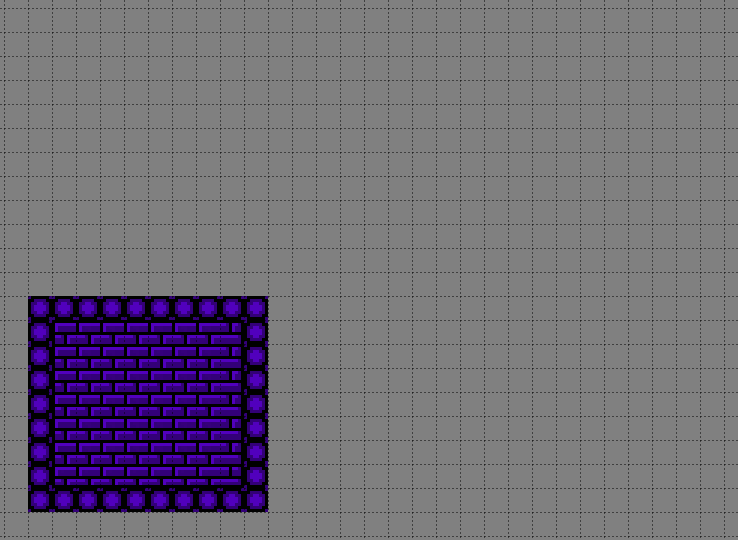
In this tutorial I’ll be using the tileset I used for the Clock Tower. You can name the tileset whatever you want, but a helpful name is more useful than something like “ppe btw lel xd”. as for the type, you definitely want “Collection of Images”. "Based on Tileset Image doesn’t always work quite the way I want it to, but if you can get it to work, more power to you.
Once you create the tileset, you have to put the tiles you want into it.
the plus shaped button adds a new image to the set for you to use, just navigate to wherever you saved the tile images and open them all up. as you add them to the set, they appear in that big blank space above. But there’s a teeny problem:
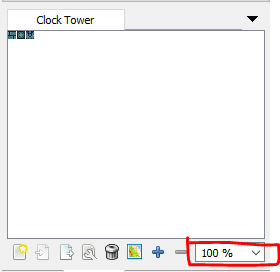
Tiny images are tiny, so they’re really small. It’s difficult to tell what each one is at that size, but you can zoom in on the tiles themselves without changing the zoom level on the map itself. That circled “100%” is the current zoom level on the tiles, I find that 550% is optimal as it makes them big enough to identify but not so big that you have to scroll sideways to see them all.
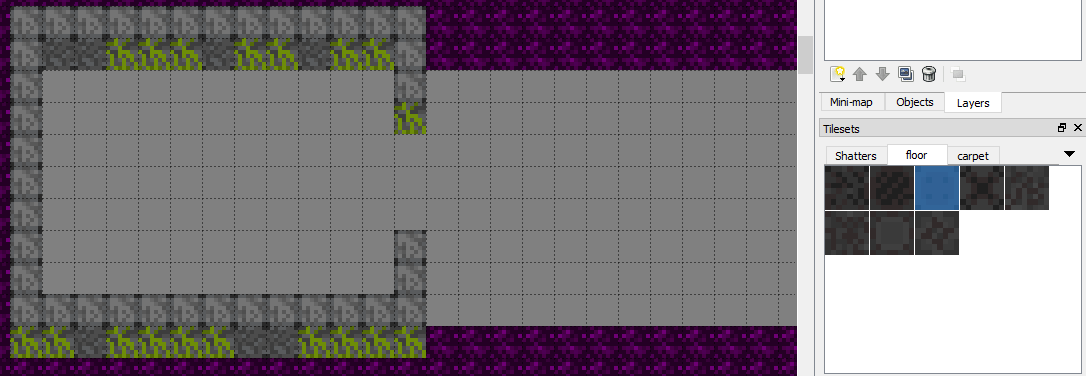
#4) Draw the map
Everything up to this point is has just been setup, once you get past all that it’s super super simple to draw the map. First, sometimes you don’t want to view the whole map at once. There are options to zoom in and out here:
You can also use the ctrl + mouse wheel shortcut as well. Once you’re at the zoom level you want, it’s as simple as:
There are also some extra tools you can use to do more things:

in order from left to right, starting at the highlighted one, they are:
Stamp Brush: this is the one we just used to draw that room. It draws the tile you have selected.
Terrain Brush: I actually have no clue what this does, but that also means it can’t be that important
Bucket Fill: just like the ones in image editors, it fills an entire area using the tile you have selected
Eraser: this deletes tiles. In case you messed up or whatever.
Rectangle Select: with this you can click+drag on the map to select a large region at once.
Magic Wand: this selects all similar tiles in a contiguous region.
Same Tile Select: this selects all similar tiles on the entire map.
And that’s all there is to it! That’s the basics you need to know to make anything you want.
but if you want to know some extra tricks that can let you do a ton more:
Then here you go!
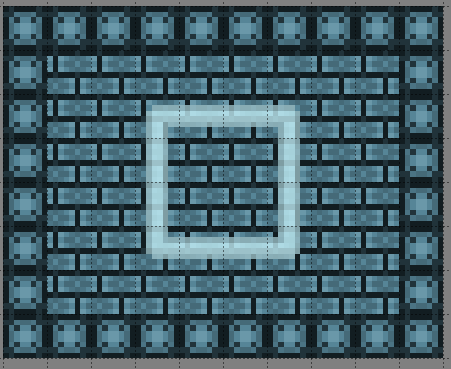
First, you might notice that the room we just drew doesn’t look quite right. This is because RotMG isn’t perfectly top-down, it’s at a slight angle. To add some perspective to the room you have to make the front of the walls visible. Like so:

But then you have to remember that this “pushes” the floor down a level, without affecting the walls. Something like this:
 ==>
==> 
 ==>
==> 
It might take a while to get the hang of that, but it really makes a huge difference.
Sometimes, RotMG doesn’t use the exact same tile for the same thing every time, there’s a bit of randomness to which tiles go where. For example, the floor in the Shatters consists of many different kinds of similar-looking tiles, but they’re not all identical. You can add a randomizer effect to your own tiles too!

Up here, next to the tools there’s a dice icon. If you click it and then select multiple tiles at once then you get this:
Random mode works with both the Stamp Brush and the Bucket Fill, you can use it on pretty much anything. You can even make some tiles more likely to appear than others, if you have a particular type that needs to be more abundant.
Let’s try that Shatters bridge again, this time making the two tiles with Pure Evil cracks less common. If you select any tile you can edit that tile’s properties in this window over here:
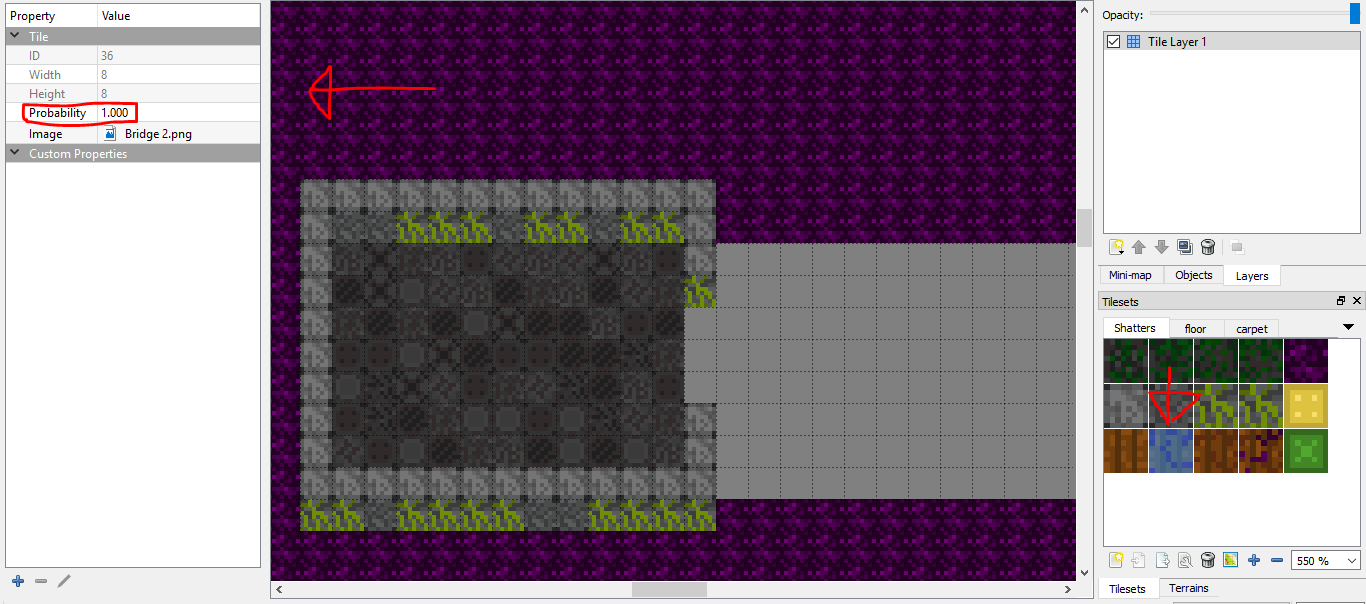
The “Probability” box is the one we want. that lets you set the relative probability of that tile being chosen over other tiles selected in random mode. ex: if you pick 2 tiles with 1.0 and 2 tiles with 0.5, the first two each have a 33.3% chance of being chosen, while the second two each have a 16.6% chance of being chosen. If we make the two cracked bridge tiles have a 0.5 probability, we get a result more like this:

You can keep adjusting it until you get the result you want, you can also go above 1.0 if you don’t want to mess with decimal numbers.
Similar to Photoshop and Gimp, you can have multiple layers per map too! If you have some kind of tile that overlays over other tiles, this is much more effective than drawing new tiles with the cover tile plastered on it.
In this box, the one right over the tileset box, you can add and adjust layers here. You can rearrange them by just clicking the blue up/down arrows while having a layer selected. You can also adjust the opacity of those layers like so:

or hide them like this:
Tiles you draw will be placed on the layer you have selected, so make sure that’s the right layer!
Copy/paste/cut work in Tiled too!
Say there’s a type of room you need a lot of, but you don’t want to draw it over and over again. Just select the room using one of the selection tools (magic wand, rectangle, same tile) and:
Easy as Spider Den! Now you just have to draw the hallways connecting them, which is much easier.
Remember that “orientation” option at the start? I told you to set it to orthagonal, but if you pick isometric:

The tiles are diagonal! But this also means that the tiles you have to import also need to be diagonal. I’ve never experimented with this yet, but if you want to give it a shot it could be very interesting.
 i wanted to hear your lovely voice